Birds in the Garden Prints

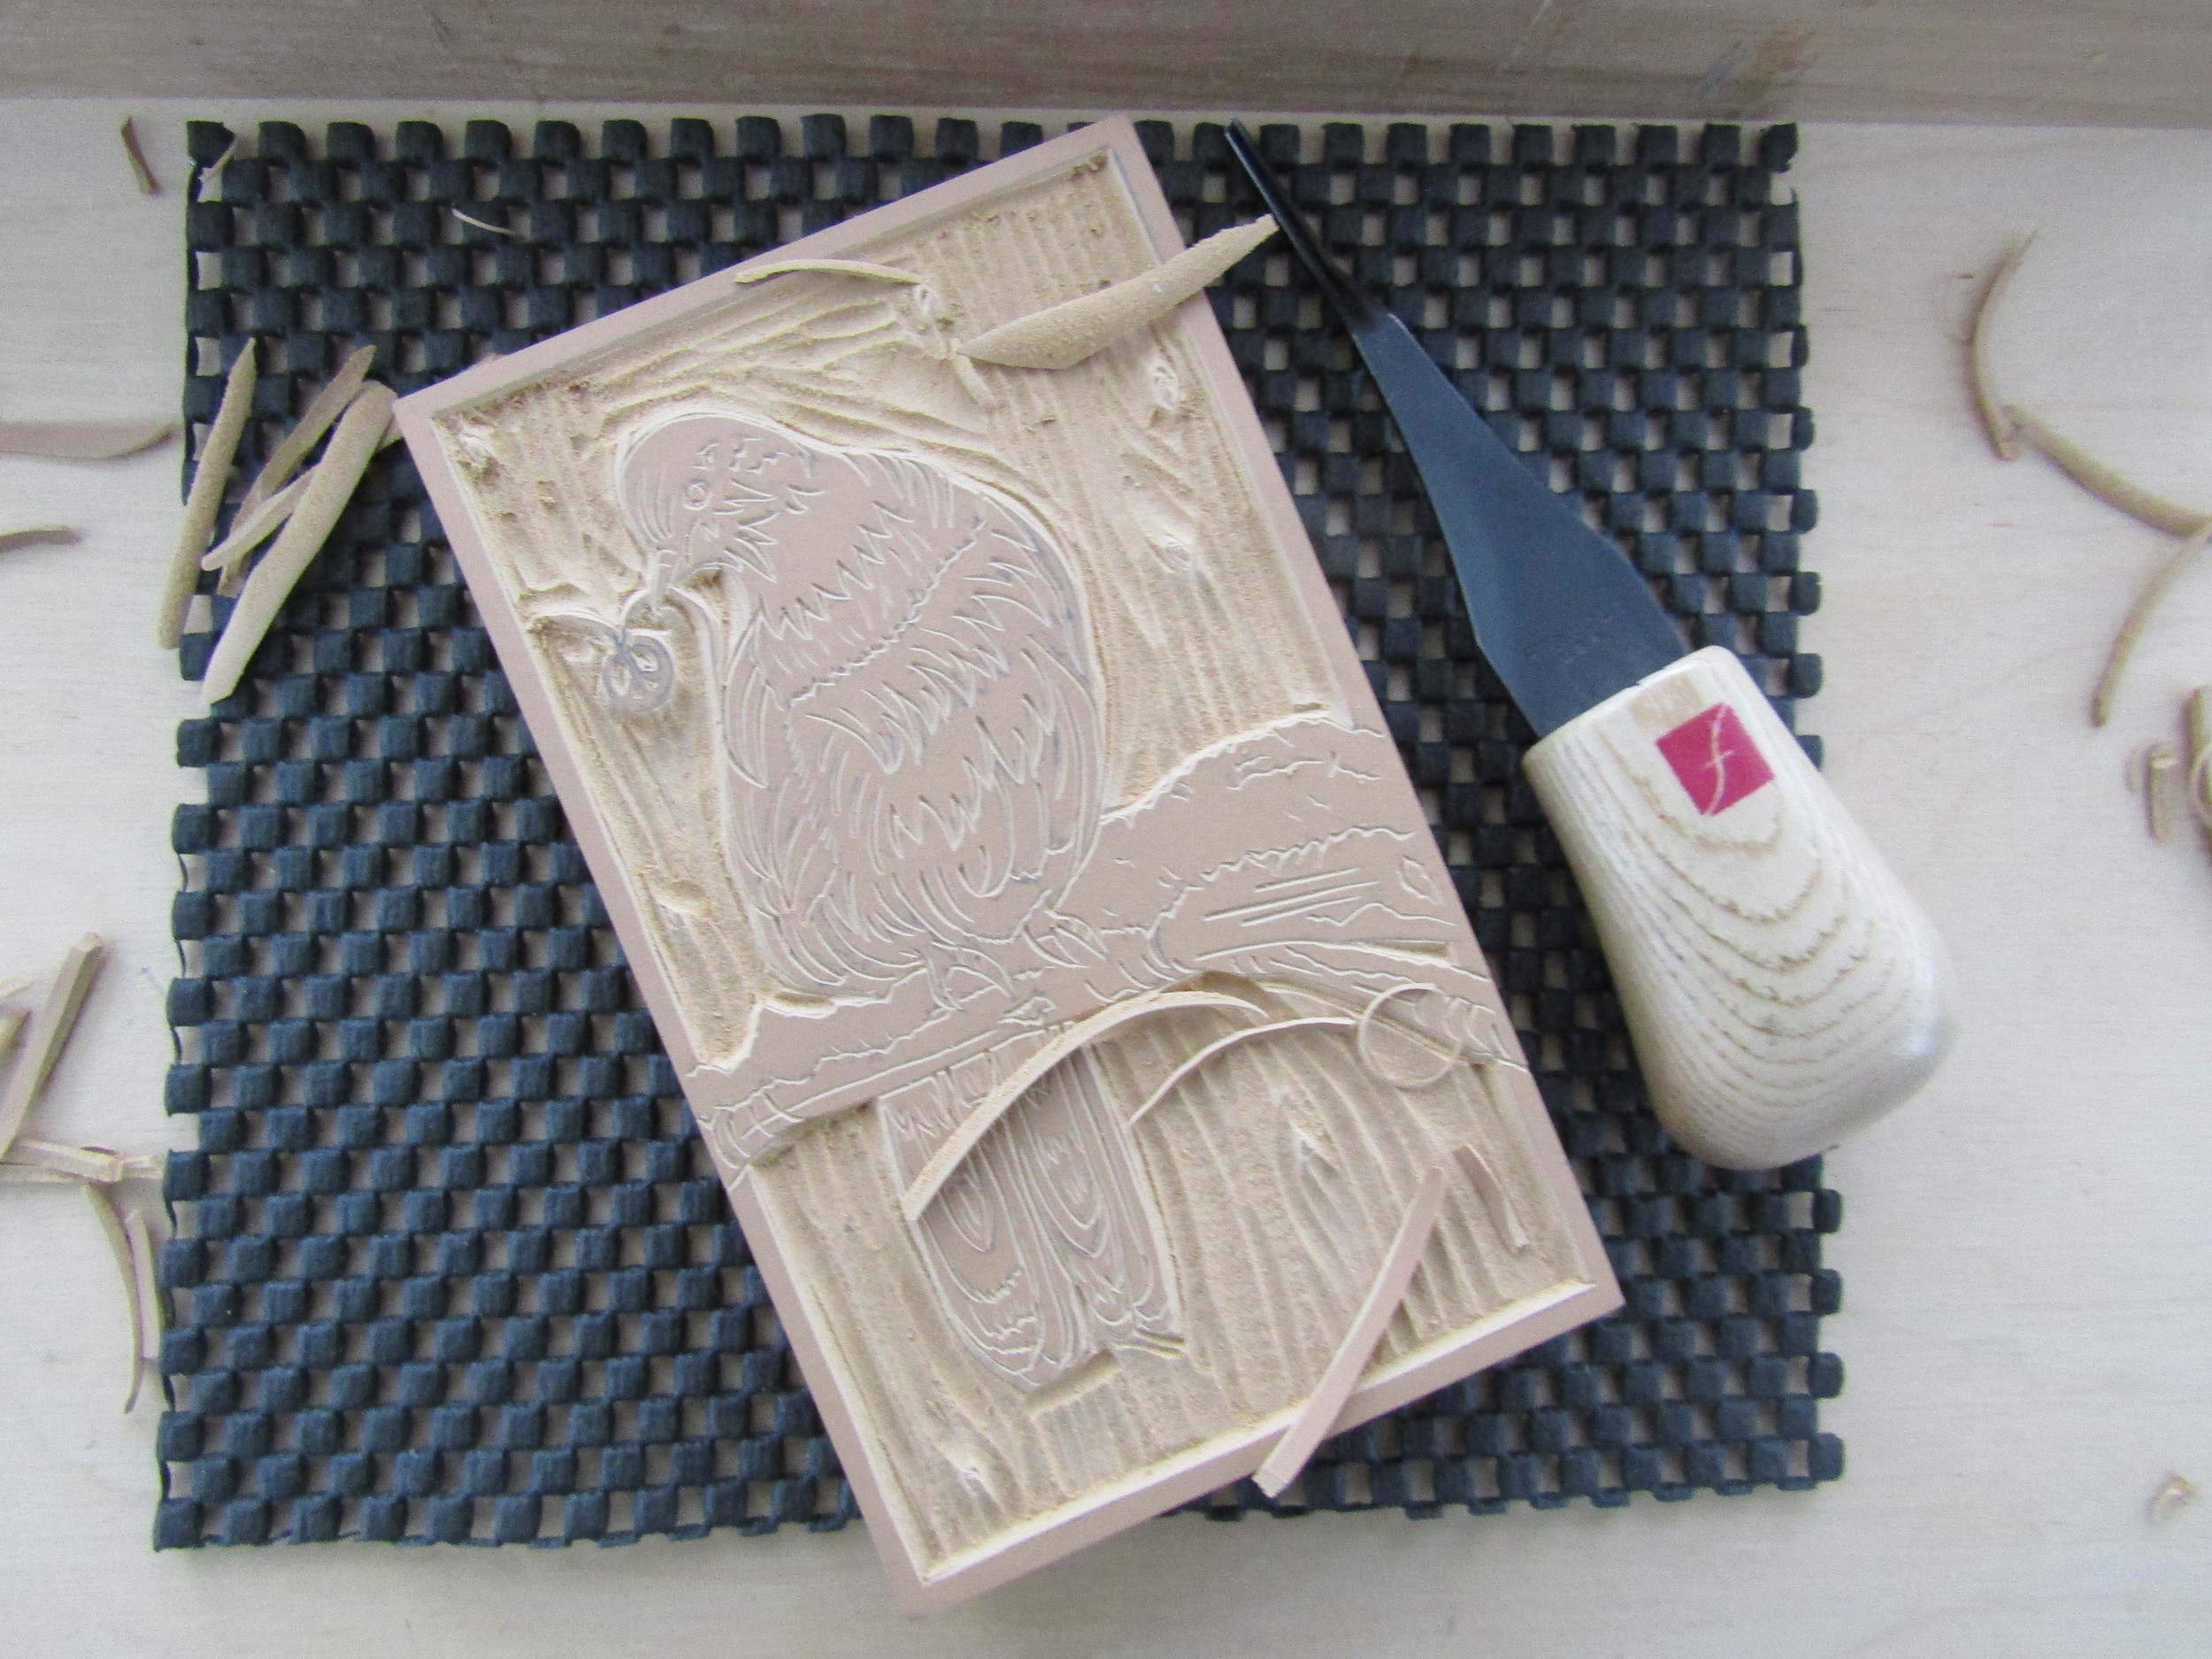
Carving 'Wrens in the Beautyberry'.

Carving 'Wrens in the Beautyberry'.

'Birds in the Beautyberry' on cork paper - love this!

'Birds in the Beautyberry' on cork paper - love this!

Carving a pair of chickadees perched in a Ginkgo tree.

Carving a pair of chickadees perched in a Ginkgo tree.

I completed two small linocut prints during the Spring. Both were inspired by the birds that frequent my yard. I included two birds in each print perched on branches. I am most satisfied with the results and want to do additional prints using pairs of birds.

I printed a small edition using Rives BFK paper; and began the edition by printing a blue mat.

I printed a small edition using Rives BFK paper; and began the edition by printing a blue mat.

The carved block inked up; editioning the print.

The carved block inked up; editioning the print.

Completed print - so happy with this print.

Completed print - so happy with this print.

These two prints were most rewarding to draw, carve, and print. Indeed, more images with pairs of birds are in the works!

Spring Inspired the Carving and Printing of New Relief Prints

The beginning stages - I am carving out what will remain white on thie print. 

The beginning stages - I am carving out what will remain white on thie print. 

Carving continues; developing the image.

Carving continues; developing the image.

It is always satisfying as the registration of color and form come together when completing a reduction print!

It is always satisfying as the registration of color and form come together when completing a reduction print!

Spring's arrival prompted me to take a look at several drawings I had worked on during the Winter. I had completed a drawing of a Barred Owl; and decided it would work well as a reduction print. Here is a look at how I proceeded with Barred Nocturne.

The image is taking shape after two printing runs using  variations of gray; ghost-like at this point.

The image is taking shape after two printing runs using  variations of gray; ghost-like at this point.

Color intensifies as I move from gray to blue, so exciting!

Color intensifies as I move from gray to blue, so exciting!

Printing on Fabric - New Possibilities

Owl printed on cotton muslin.

Owl printed on cotton muslin.

Printing the birds on cotton muslin.

Printing the birds on cotton muslin.

Purses are sewn up - adding the button closure.

Purses are sewn up - adding the button closure.

I recently began experimenting with printing on fabric. It is fun and not nearly as difficult as I would have imagined. Additionally, the process and products allow me to explore my love for printing, fabric, and sewing. Here are some of the items I am currently producing.

I printed several birds on cotton muslin. I then sewed them to cotton canvas bags....so much better than paper or plastic! 

I printed several birds on cotton muslin. I then sewed them to cotton canvas bags....so much better than paper or plastic! 

I then decided to carve and print smaller birds. My plan was to design a small purse using printed cotton fabric and attach the smaller birds to these. 


Various fabrics and printed birds - ready to put it all together!

Various fabrics and printed birds - ready to put it all together!

Cutting out and playing around with placement.

Cutting out and playing around with placement.

Various fabrics and birdies - working on multiples.

Various fabrics and birdies - working on multiples.

Purses with birds - all sewn up and ready for use! 

Purses with birds - all sewn up and ready for use! 

These items using printing, sewing, and fabric have been fun to design and make. I will continue working with these ideas and materials; exploring new ways to bring them together!

Love of Snail Mail Inspires Greeting Cards

Coneflower; will become a birthday card; printed on Lettra paper.

Coneflower; will become a birthday card; printed on Lettra paper.

Greetings printed using handset metal type. I will fold and package once dry.

Greetings printed using handset metal type. I will fold and package once dry.

Thank you!

Thank you!

Chirp! (Yes, a bit of whimsy with this one!)

Chirp! (Yes, a bit of whimsy with this one!)

I love receiving letters, cards, postcards, or handwritten notes in the mail. I especially adore the handmade card! Consequently, when I set up my print shop a few years ago; I began designing and printing greeting cards. I have just completed a new 'Spring Line' of cards. It has been such fun designing, carving relief blocks, and printing these cards. Take a look.

Little bird's head on striped mat - will become a thank you card; printed on chip board.

Little bird's head on striped mat - will become a thank you card; printed on chip board.

Card editions drying.

Card editions drying.

I completed several additional cards using a colored and/or patterned mat, relief print, and handset type. I enjoy making greeting cards, as well as the customers who purchase them!

Thinking of you...

Thinking of you...

A variety of greeting cards!

A variety of greeting cards!

A New Artist Book Using the Tunnel Book Structure

Carving the linoleum block for the relief print.

Carving the linoleum block for the relief print.

Proofing the print in my studio.

Proofing the print in my studio.

Second run - printing the garden image in a indigo blue.

Second run - printing the garden image in a indigo blue.

The layers are all cut - the book's pages are complete. Now for printing the text!

The layers are all cut - the book's pages are complete. Now for printing the text!

I printed the text on handmade cotton rag paper which I made a couple of years ago using cotton khaki trousers.

I printed the text on handmade cotton rag paper which I made a couple of years ago using cotton khaki trousers.

Welcome to The Garden! The book is assembled (view 1).

Welcome to The Garden! The book is assembled (view 1).

I recently completed a new artist book entitled The Garden. It is a tunnel book structure. I began the book by sketching images of my gardens. I then chose a sketch to transform into a relief print which I printed on my Vandercook SP 15. I printed multiple prints so that I could cut and layer the book's interior image. The viewer looks into these layers when experiencing the book. I added a bit of text which I also printed on my letterpress. The colors are shades of blue and the cover is adorned with painted papyrus. Here are some pictures of the book being made.

First run on the Vandercook - a blue mat. I used Stonehenge paper, quite nice for printing.

First run on the Vandercook - a blue mat. I used Stonehenge paper, quite nice for printing.

Cutting away areas to make the layers pages.

Cutting away areas to make the layers pages.

Setting the text, using Garamond 12 pt. metal type

Setting the text, using Garamond 12 pt. metal type

Painting the papyrus covered davey board with layers of milk paint.

Painting the papyrus covered davey board with layers of milk paint.

Sanding the milk paint layers to reveal the papyrus. I wanted the covers to look like an old door or gate. The viewer opens these to 'walk' into the garden.

Sanding the milk paint layers to reveal the papyrus. I wanted the covers to look like an old door or gate. The viewer opens these to 'walk' into the garden.

Note how the side panels of a tunnel book are accordion folded papers. This allows for the layering of the book pages and their forward extension (view 2).

Note how the side panels of a tunnel book are accordion folded papers. This allows for the layering of the book pages and their forward extension (view 2).

The interior layered pages of The Garden (view 3).

The interior layered pages of The Garden (view 3).

A good bit of work went into this book. It was worth it to create this tribute to my gardens. They are a source of inspiration - my daily destination!

IMG_0785.JPG

Carved Wooden Coptics

Carving and sanding the covers.

Carving and sanding the covers.

Painting multiple coats of milk paint; starting with white.

Painting multiple coats of milk paint; starting with white.

Sanding through the paint layers; a most arduous task!

Sanding through the paint layers; a most arduous task!

The text blocks are assembled and the sewing stations have been added using an awl - the books are now ready for sewing!

The text blocks are assembled and the sewing stations have been added using an awl - the books are now ready for sewing!

All the books are sewn (a total of four)! 

All the books are sewn (a total of four)! 

The leather and wood closures work well as a way to hold the books together.

The leather and wood closures work well as a way to hold the books together.

I recently completed a suite of miniature wooden Coptic books. I am continually inspired by nature; particularly ephemeral objects such as leaves, pods, dried flowers, nests, shells, insect wings, feathers.  Oh the list goes on! For these small books I focused on leaves. I carved simple leaves on the front covers. I then applied multiple layers of milk paint in shades of blue and green. When milk paint is sanded and polished; it has a distressed and aged quality.  I used Mohawk Superfine and Ingres papers for the text blocks and sewed the books with waxed linen threads. I used leather and wood for the closures. Take a look at the process.

Adding additional coats - first blue; then green.

Adding additional coats - first blue; then green.

Holes have been drilled determining the sewing patterns I will use. Now, I am selecting the various papers for the text blocks. 

Holes have been drilled determining the sewing patterns I will use. Now, I am selecting the various papers for the text blocks. 

Sewing using two needles and waxed linen thread.

Sewing using two needles and waxed linen thread.

I love how the sewing looks on the spine of Coptic books. Some were four needle bindings, while others were two needle. 

I love how the sewing looks on the spine of Coptic books. Some were four needle bindings, while others were two needle. 

Opened Book

Opened Book

These books are so much fun to open and handle. Their interior pages can remain blank or hold text and imagery. The possibilities are endless!

Investigating the Book, January Term 2016

Paste Paper

Paste Paper

Pattern Stamping Using Carved Erasers

Pattern Stamping Using Carved Erasers

Backing Fabric with Paper - Urauchi

Backing Fabric with Paper - Urauchi

Pamphlet Books With Stamped Covers

Pamphlet Books With Stamped Covers

Accordion Book With Painted Images

Accordion Book With Painted Images

Each of us (myself included) completed a suite of prints to exchange - we bound them into a Japanese stab binding like this.

Each of us (myself included) completed a suite of prints to exchange - we bound them into a Japanese stab binding like this.

Student Print on Rives BFK Paper

Student Print on Rives BFK Paper

Four Needle Coptic Book with Wooden Covers

Four Needle Coptic Book with Wooden Covers

I taught a book arts course at Guilford College during their January Term 2016. My students explored various types of book and print making. Take a look at their accomplishments. It is worth noting that they had never made books prior to this class; hard to believe!

Gel Printing

Gel Printing

Sewing a Coptic Book

Sewing a Coptic Book

Sewn Two Needle Coptic Books

Sewn Two Needle Coptic Books

Accordion Book With Collaged Images

Accordion Book With Collaged Images

Two Needle Coptic Binding With Wooden Covers

Two Needle Coptic Binding With Wooden Covers

Four Needle Coptic Book With Backed Fabric and Sewn Embellishment on Covers

Four Needle Coptic Book With Backed Fabric and Sewn Embellishment on Covers

Tunnel Book Structure with Painted Images

Tunnel Book Structure with Painted Images

As you can see, these students worked hard and produced exciting work.  I am truly proud of their accomplishments! Truth be told; I learned as much as they did - isn't that one of the 'perks' of teaching?!?