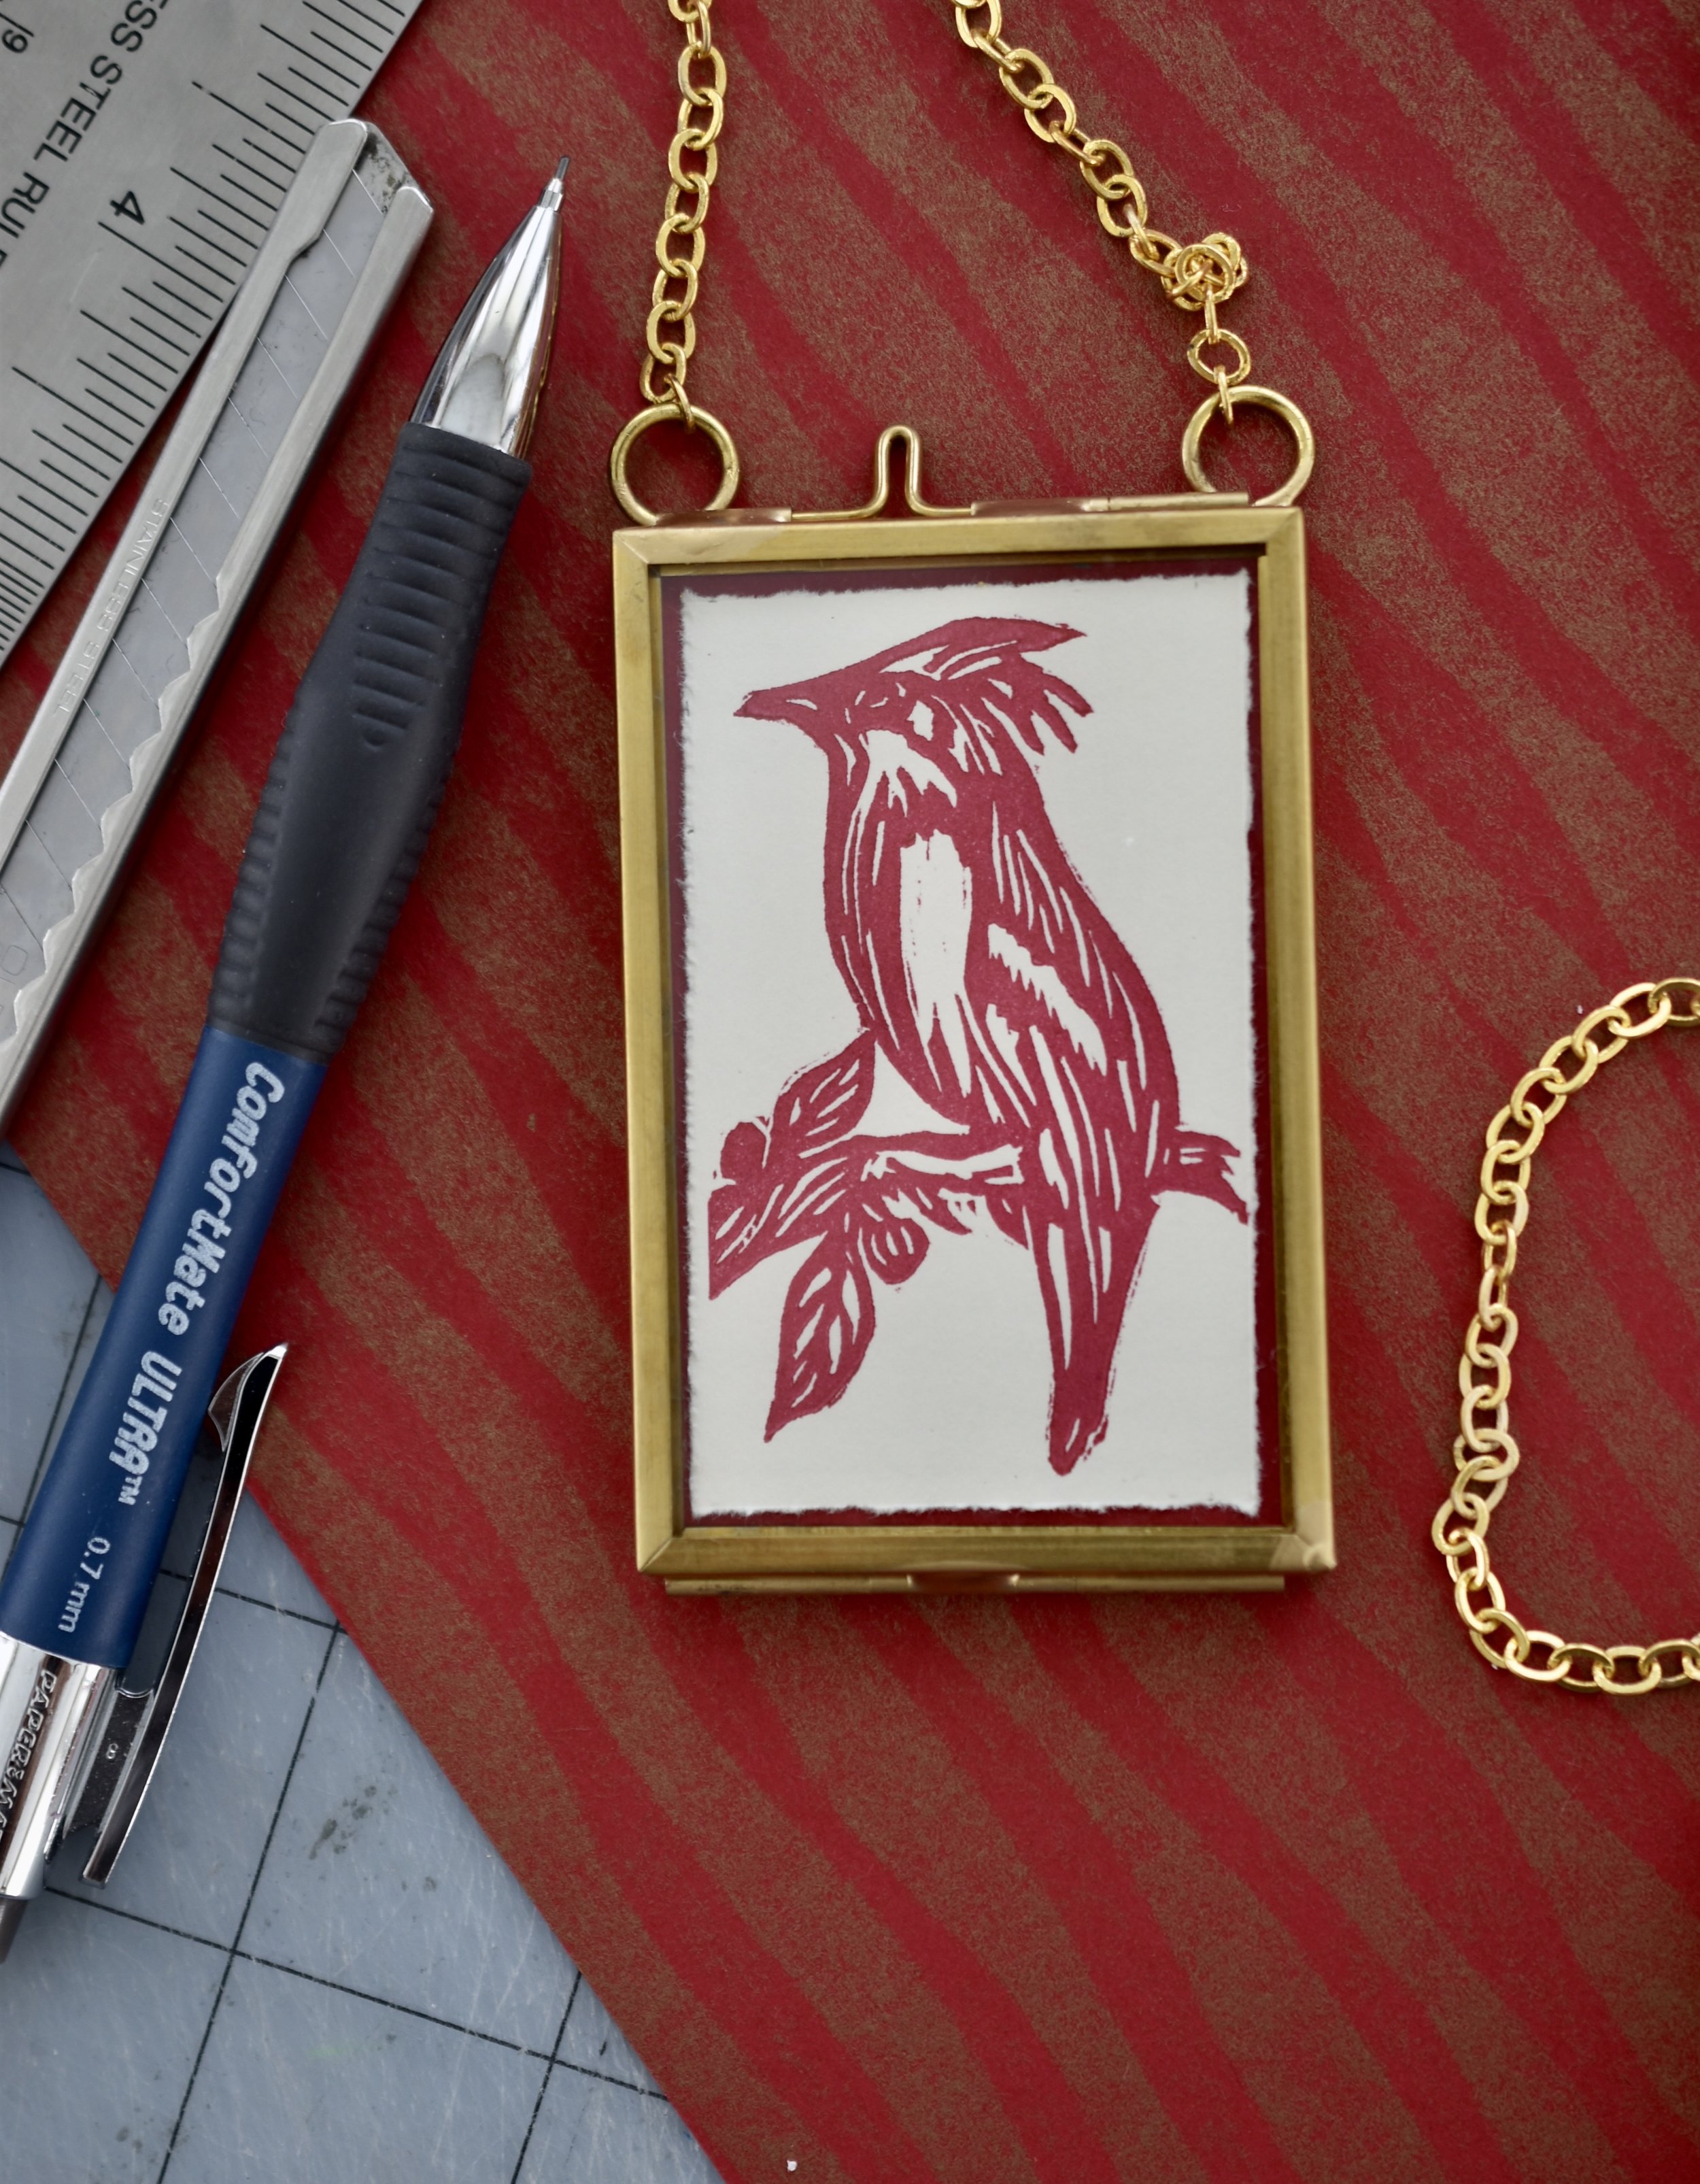
I completed four pencil drawings. The four birds are a Chickadee, Cedar Waxwing, Cardinal, and Hummingbird. I traced each bird and then transferred the traced bird onto a small linoleum block using my bone folder.
Carving the Cedar Waxwing. I use Flexcut carving tools. They are comfortable to hold and therefore ‘easy’ on the hands and wrist while carving.
Here is a group of the assembled ornaments. I used pressure prints of a striped pattern (gold ink on red French text weight paper) for the reverse side. The frames are double sided and hang beautifully on the wall or Christmas tree! One customer hung her ornament on a branch on her mantle!
My 2025 ornament was inspired by some of my favorite birds. I used two types of prints - relief prints and pressure prints; which I placed inside small brass hanging frames. Here are some images from the processes of designing, printing, and assembling the ornaments.
The next step was to go over the traced birds with a black Sharpee pen and then carve each bird image into the linoleum. This image shows the carved birds. I am now ready to print!
I printed the four birds on my Vandercook Sp 15. I set all four blocks into a form in the press bed. I was then able to print them at the same time. I used Rubine Red ink with a touch of Black.
I printed on Mohawk Superfine paper and am very pleased with the color and the printed images. I printed an edition of about 2 dozen. This enabled me to assemble several groupings of the bird ornaments.
This is a detail of the Cedar Waxwing which is my personal favorite.


